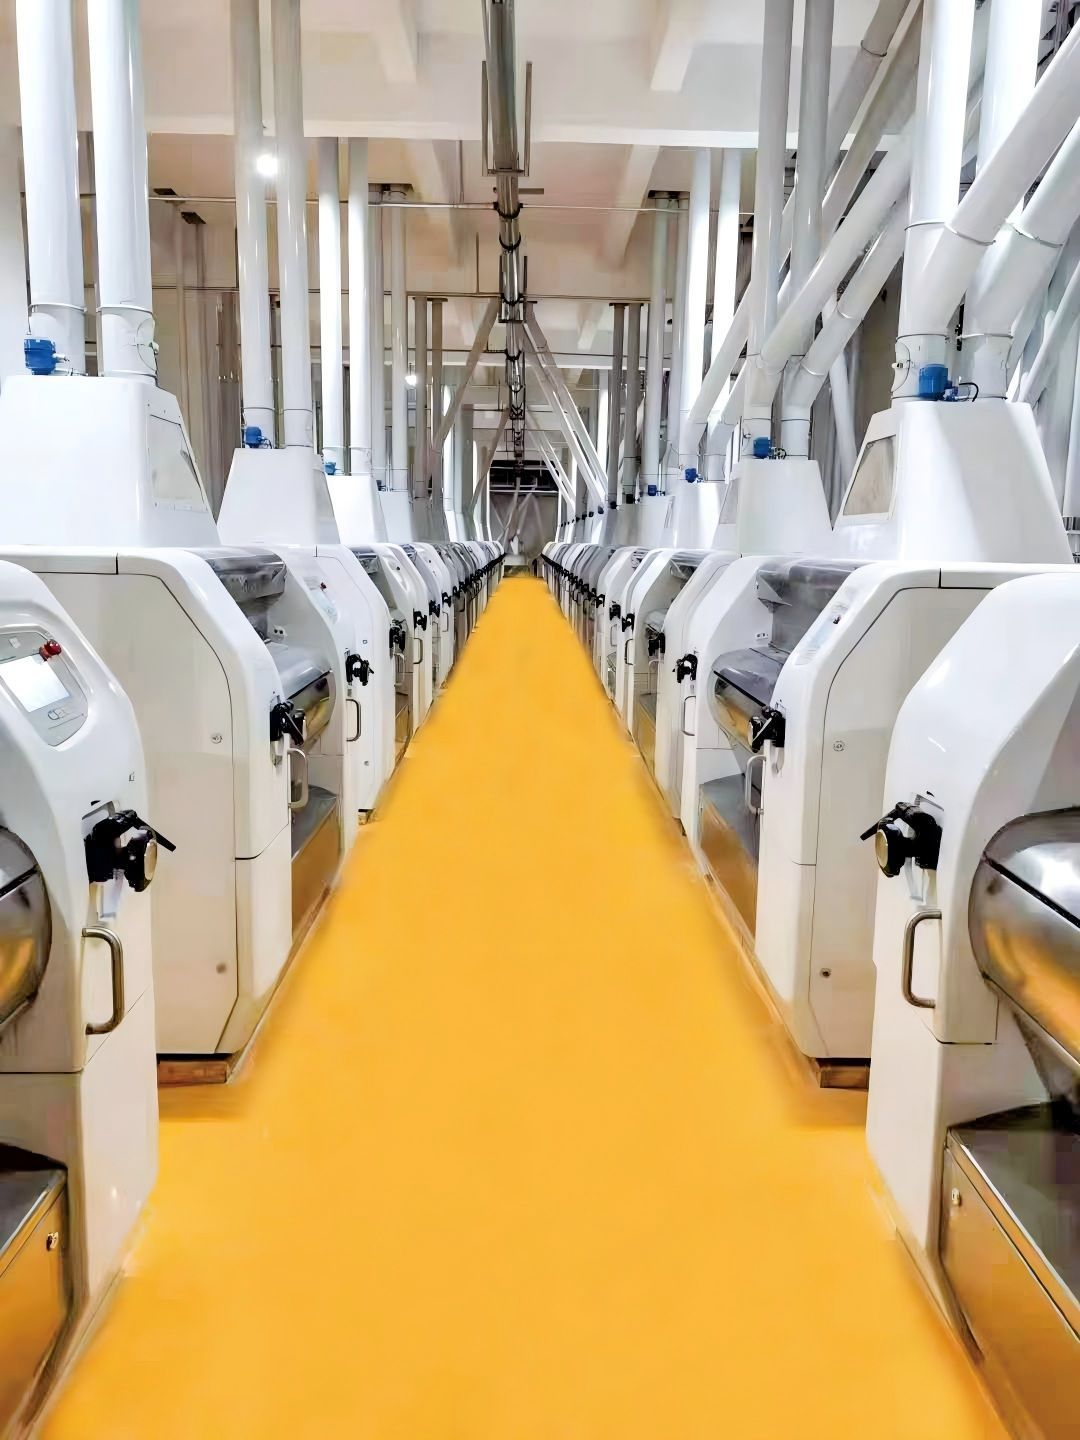
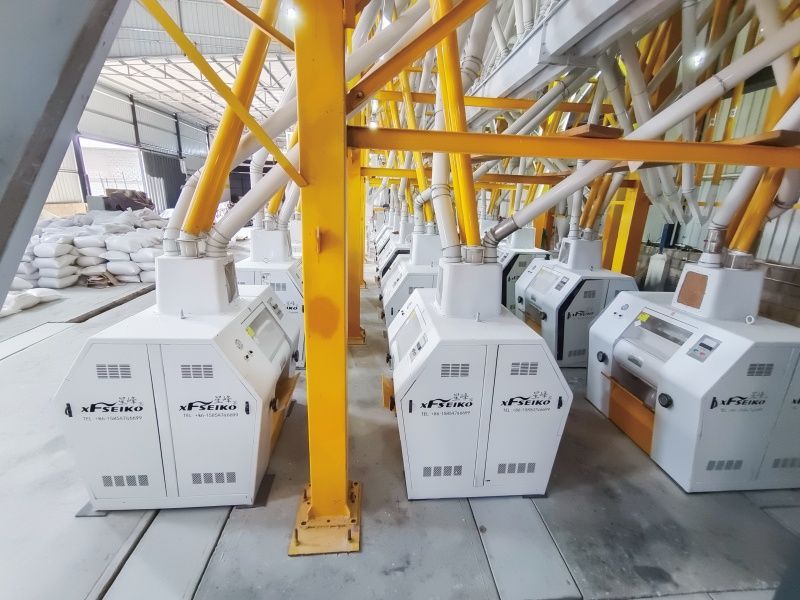
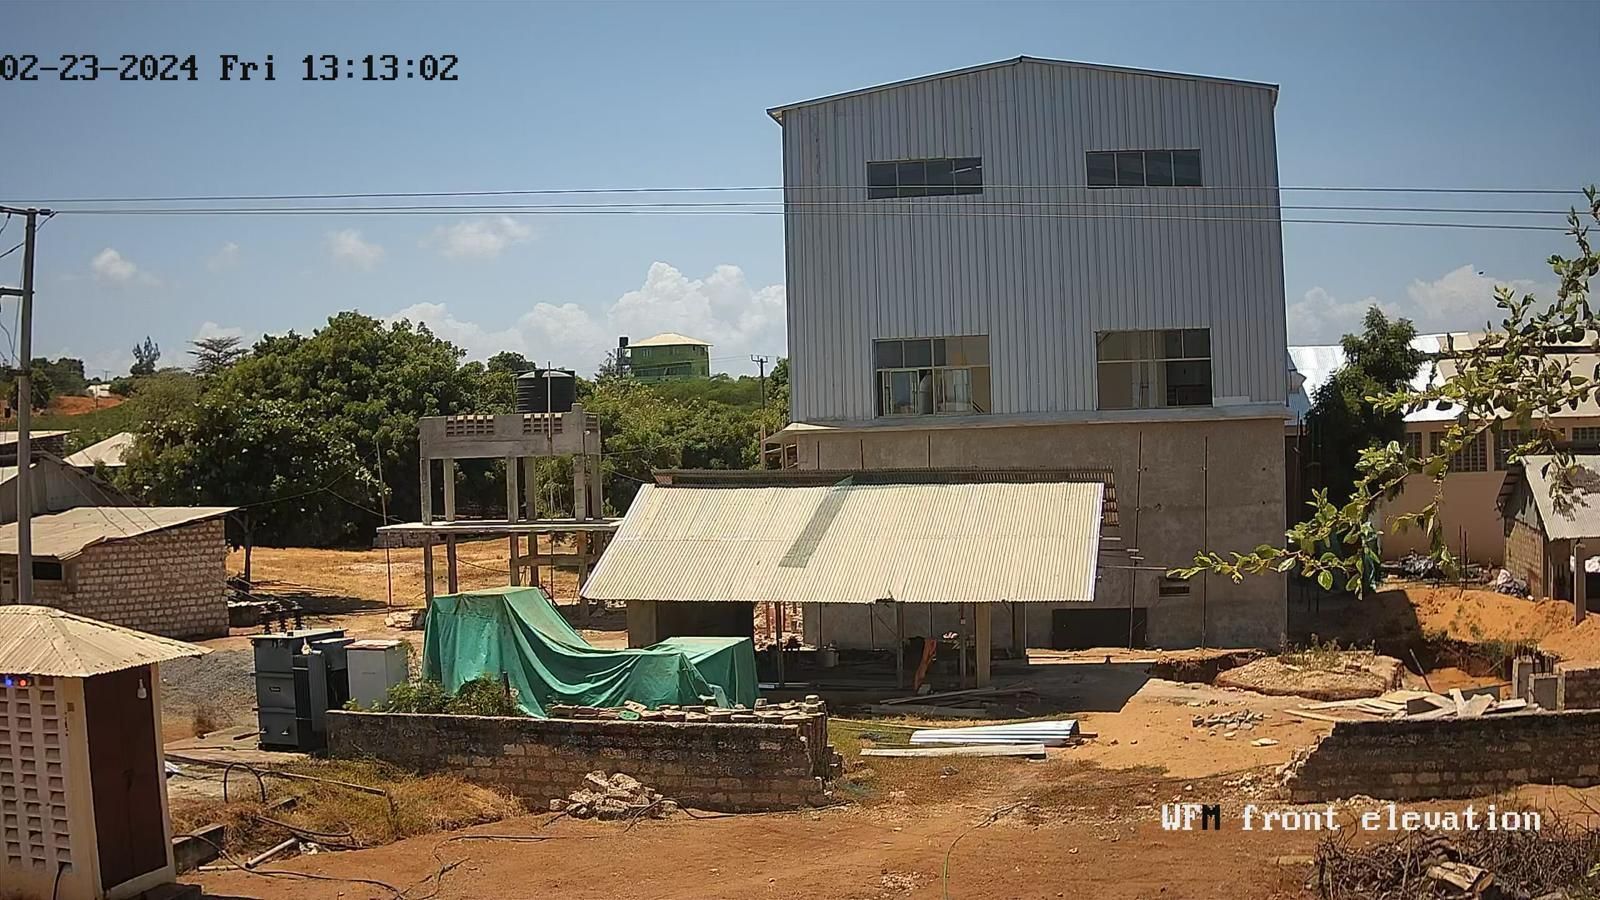
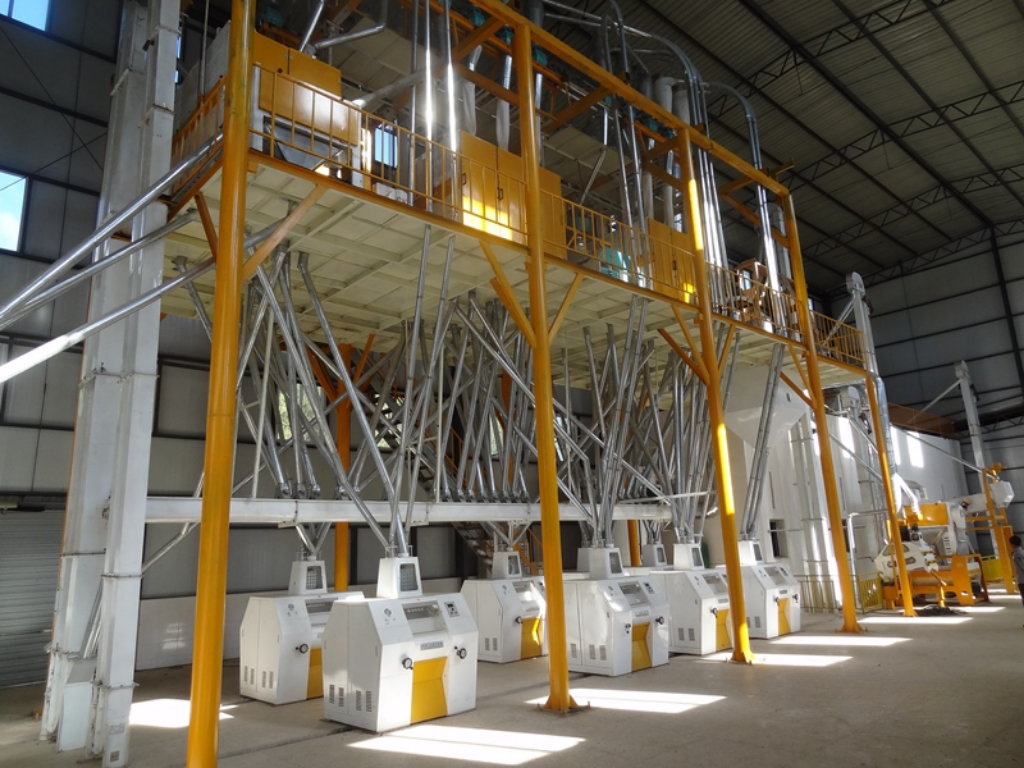
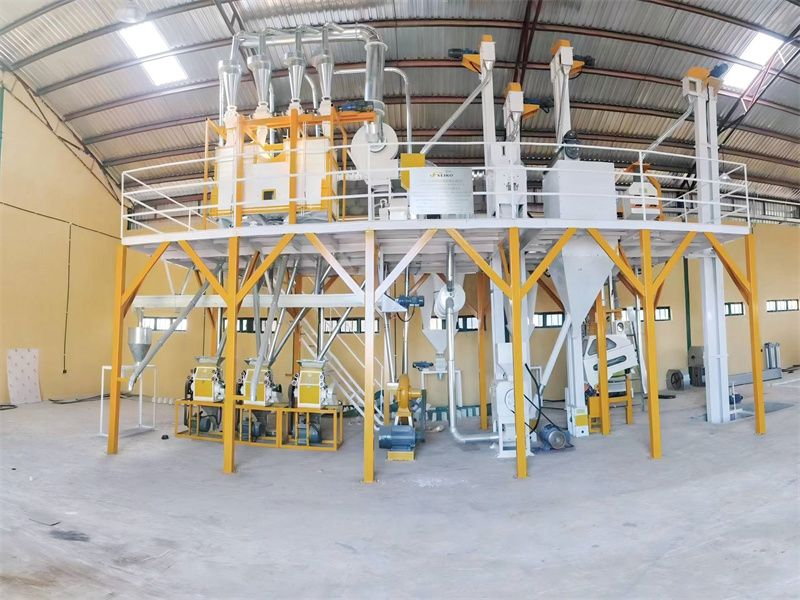
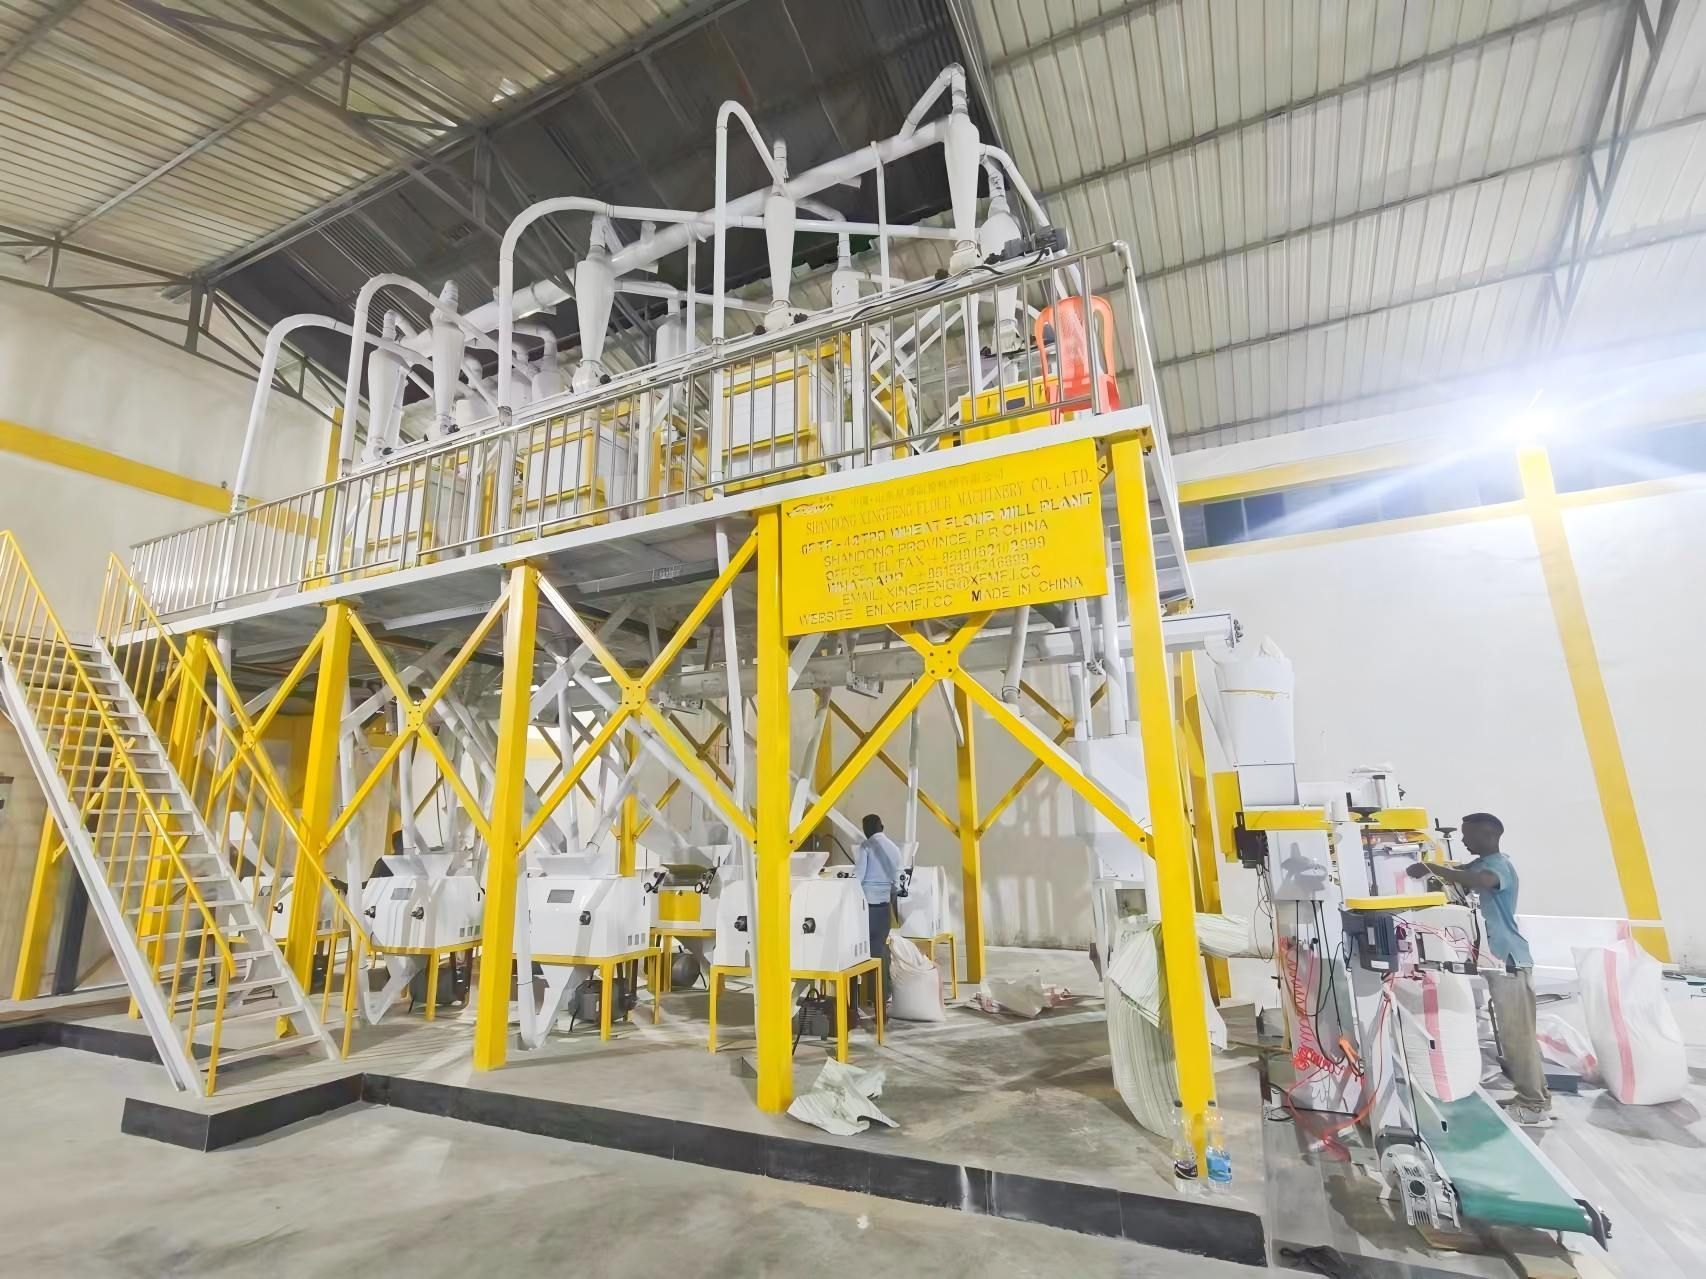
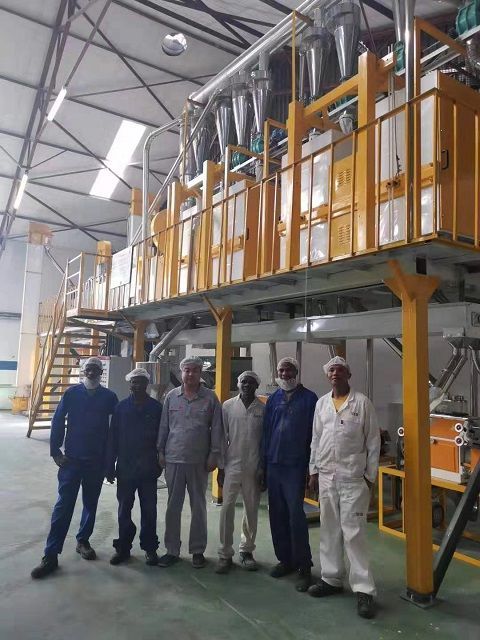
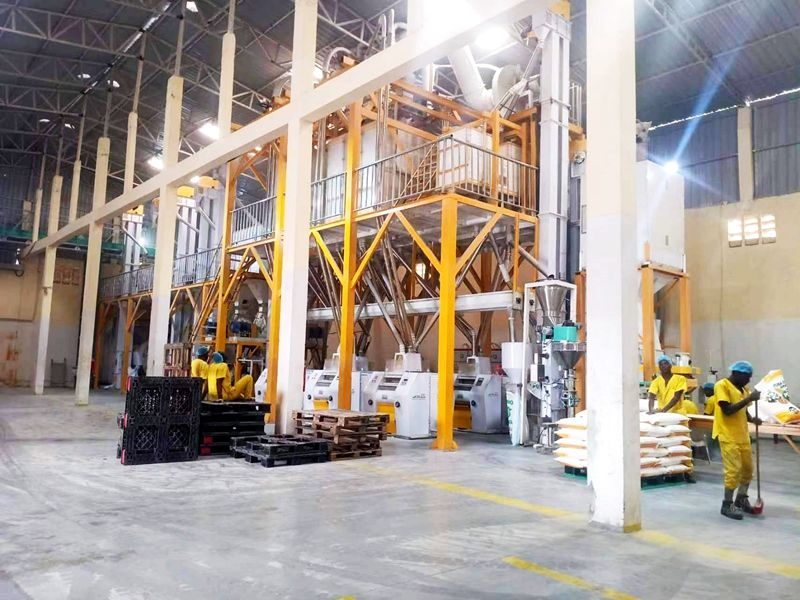
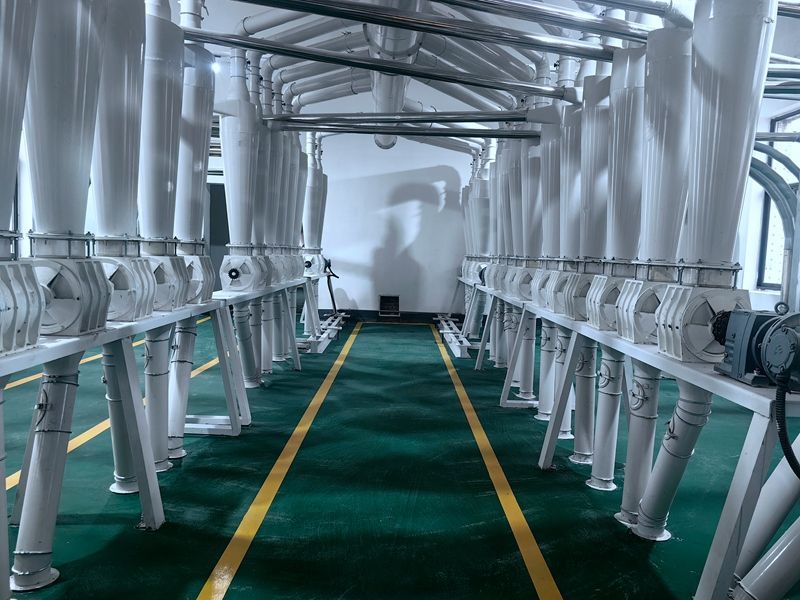
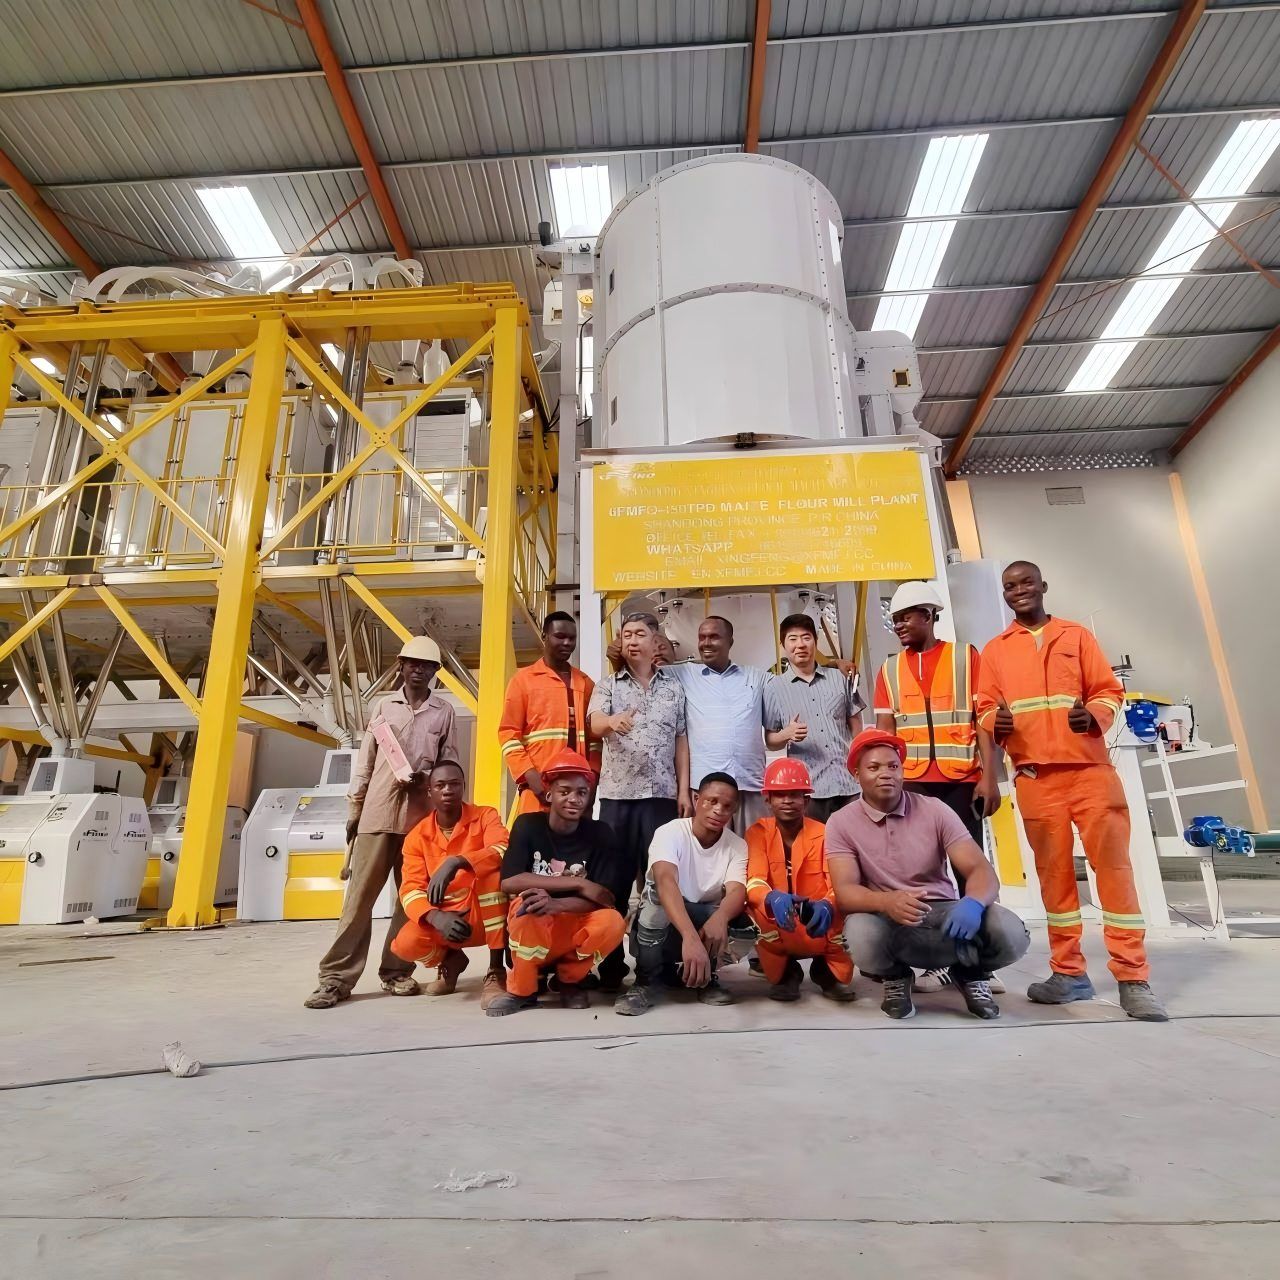
For a 150-180TPD Maize Flour Mill Plant, preventive maintenance is not only an equipment care program. It is a production control system that protects flour color, particle size, moisture, hygiene, yield, and delivery schedules. Buyers and plant managers want a practical maintenance method that reduces unexpected stoppages without creating unnecessary labor, spare parts, or production costs.
This guide explains how to build a step-by-step preventive maintenance program for maize flour milling equipment. It covers the tools required, inspection points, cleaning routines, process controls, maintenance records, purchasing decisions, and common mistakes that reduce the value of maintenance work.
1. Identify How Equipment Condition Affects Flour Quality
Check the main quality risks before scheduling maintenance
Maintenance should begin with the quality problems that the plant must prevent. A machine can continue running while its condition is already damaging the finished flour. The first task is to connect every critical component with a measurable flour quality risk.
- Worn roller surfaces can create inconsistent particle size and reduce milling efficiency.
- Incorrect roller gaps can produce excessive bran powder, coarse meal, or uneven extraction.
- Damaged screens can allow oversized particles or foreign material to enter the finished product.
- Blocked aspiration ducts can increase bran contamination and raise dust levels.
- Leaking bearings can introduce lubricant contamination and create heat near food contact areas.
- Loose belts can reduce machine speed and cause unstable feed rates.
- Unbalanced fans can produce vibration, noise, and irregular air separation.
- Uncalibrated moisture instruments can cause incorrect tempering and unstable milling performance.
Match purchasing concerns with maintenance requirements
The purchasing group usually evaluates more than the initial machine price. It needs to understand the total operating cost and the availability of parts after installation. A suitable maintenance plan should answer the following questions before equipment is purchased:
- Which parts are expected to wear out and how often must they be replaced?
- Are rollers, screens, bearings, belts, sensors, and electrical components available locally or from the manufacturer?
- Can operators perform routine checks without dismantling the whole machine?
- Does the supplier provide maintenance manuals, lubrication charts, drawings, and training?
- How long does it take to replace a critical part?
- What spare parts should be purchased before commissioning?
- Can the equipment be isolated safely during cleaning and repair?
- What records are needed to support warranty claims and production audits?
Set measurable quality and reliability targets
Use clear targets rather than relying on general statements such as "keep the machine in good condition." Depending on the product specification, the plant may monitor:
- Flour moisture percentage.
- Flour color and visual cleanliness.
- Particle size distribution.
- Bran and germ content.
- Flour extraction rate.
- Metal detection results.
- Machine vibration and bearing temperature.
- Unplanned downtime hours per week.
- Mean time between failures.
- Mean time required to repair a failure.
These measurements show whether preventive maintenance is improving both product quality and production availability.
2. Prepare the Required Tools, Spare Parts, and Safety Controls
Use a maintenance tool list before the first inspection
A maintenance team loses time when it starts a repair without the correct tools. Prepare a dedicated tool cabinet for the milling section and check the tools before each scheduled maintenance period.
- Combination wrenches and socket sets.
- Torque wrench for bolts, roller assemblies, and motor connections.
- Allen keys and screwdrivers.
- Bearing puller and suitable bearing installation tools.
- Belt tension gauge or a manufacturer-approved belt tension method.
- Feeler gauges for checking roller gaps and clearances.
- Digital thermometer or infrared temperature meter.
- Vibration meter or portable vibration analyzer.
- Multimeter and clamp meter for electrical checks.
- Moisture meter for maize and finished flour.
- Inspection flashlight and inspection mirror.
- Food-grade grease and approved lubricants.
- Food-safe brushes, vacuum cleaner, scrapers, and lint-free cloths.
- Replacement belts, bearings, screens, fasteners, seals, and fuses.
- Lockout and tagout locks, warning tags, and electrical isolation equipment.
- Safety glasses, dust mask, hearing protection, gloves, safety shoes, and protective clothing.
Prepare critical spare parts for purchasing control
Purchasing teams should classify spare parts according to their effect on production. A low-cost component can still be critical if its failure stops the complete line.
- Class A critical parts: roller bearings, drive belts, main motor contactors, control sensors, screen sections, and key fan bearings.
- Class B important parts: seals, standard bearings, fasteners, couplings, fuses, and pneumatic fittings.
- Class C routine parts: cleaning brushes, general hardware, cable ties, labels, and noncritical consumables.
Record the part number, supplier, compatible machine, minimum stock level, lead time, and storage location. This prevents the common purchasing problem of ordering a similar but incompatible part during an emergency.
Apply safety controls before opening equipment
Never begin maintenance while rollers, conveyors, fans, augers, or elevators can start unexpectedly. The required safety sequence is:
- Stop the relevant production section using the normal operating procedure.
- Allow all moving parts to run down completely.
- Switch off and isolate the electrical supply.
- Lock the isolation point and attach a warning tag.
- Release stored pressure from pneumatic or hydraulic systems.
- Check that no hot surface, rotating part, or stored material presents a hazard.
- Test the equipment controls to confirm that the machine cannot start.
- Only then remove guards or inspection covers.
3. Follow a Step-by-Step Preventive Maintenance Inspection
First step: Review production and maintenance records
Before inspecting the machine, review the previous shift report and maintenance history. Look for changes in motor current, vibration, product flow, noise, flour appearance, and production rate. Repeated small abnormalities often identify a developing failure earlier than a complete breakdown.
Ask the operator:
- Did the machine make a new noise?
- Did the flour become darker, coarser, or more variable?
- Did the feed rate fluctuate?
- Did the motor or bearing temperature increase?
- Did dust escape from a normally sealed area?
- Did the machine require more frequent adjustment?
Second step: Inspect the exterior and surrounding area
Check the machine frame, guards, access doors, seals, cable connections, pipelines, air ducts, and discharge points. Look for flour accumulation, oil leakage, loose bolts, corrosion, cracks, damaged insulation, and abnormal dust deposits.
Flour accumulation around a bearing or motor should not be treated as normal housekeeping only. It may indicate a leaking seal, poor aspiration, a damaged gasket, or a misaligned transfer point.
Third step: Check drive belts, couplings, and alignment
Inspect belts for cracks, glazing, fraying, uneven wear, and oil contamination. Check whether pulleys are aligned and whether the belt tension matches the equipment manual. A loose belt can reduce roller speed, while an over-tight belt can damage bearings and motor shafts.
- Isolate the equipment and remove the guard.
- Inspect the belt and pulley surfaces.
- Check pulley alignment with a straightedge or alignment tool.
- Measure belt tension according to the manufacturer specification.
- Replace matched belt sets together when required.
- Reinstall the guard before testing the machine.
Fourth step: Check bearings, shafts, and vibration
Measure the temperature of each accessible bearing under normal load and compare it with previous records. A gradual increase is often more important than one isolated reading. Listen for grinding, clicking, or irregular sounds and use a vibration meter where available.
Investigate immediately when you find:
- Rapid temperature increase.
- Visible grease leakage or dry bearing surfaces.
- Excessive shaft movement.
- Cracked bearing housings.
- Vibration that changes with machine speed.
- Metal particles near a bearing or gearbox.
Fifth step: Inspect rollers, screens, and milling surfaces
Rollers and screens directly influence flour quality. Check roller wear, surface condition, cracks, buildup, and correct gap settings. Inspect screens for broken wires, stretched sections, blocked openings, and poor fastening.
- Clean the inspection area to prevent contamination.
- Confirm that the roller surfaces are even across their working width.
- Measure and record the roller gap at the required locations.
- Check that the adjustment mechanism moves smoothly.
- Inspect screen frames, gaskets, and clamps.
- Replace damaged screens instead of attempting temporary repairs that change the opening size.
- Run a controlled test and compare particle size and extraction results.
Sixth step: Inspect aspiration, fans, and dust control
Airflow affects separation, hygiene, worker safety, and flour cleanliness. Inspect fan blades, bearings, duct connections, filters, dampers, and air locks. Remove accumulated product from ducts according to the plant sanitation procedure.
Check for blocked filters, open access covers, damaged flexible connections, and air leaks. Poor aspiration can carry bran and light impurities into the flour stream. Excessive airflow can remove valuable product and reduce yield.
Seventh step: Check electrical and control components
Inspect motor terminals, control cabinets, sensors, cable glands, overload settings, emergency stops, and interlocks. Look for loose connections, overheating marks, dust inside panels, and damaged cables.
- Isolate the power supply before opening the electrical cabinet.
- Check for loose terminals and discoloration.
- Clean dust using an approved method that does not force dust deeper into components.
- Test emergency stops and door interlocks.
- Compare motor current with the normal operating record.
- Confirm that alarms and sensor signals are correctly displayed.
Eighth step: Test the machine under controlled load
After maintenance, remove all tools and loose parts, reinstall guards, and confirm that the work area is clean. Start the machine according to the operating procedure. Observe it first without product, then introduce product gradually.
Record:
- Startup noise and vibration.
- Motor current.
- Bearing temperature.
- Feed stability.
- Flour appearance.
- Particle size.
- Dust leakage.
- Product yield and extraction rate.
4. Control Cleaning, Moisture, and Sanitation Between Maintenance Tasks
Clean in a sequence that prevents cross-contamination
Cleaning must remove old product, dust, pests, and foreign material without damaging machine parts. Use a top-to-bottom and clean-to-dirty sequence.
- Stop and isolate the equipment.
- Remove remaining maize and flour from hoppers, ducts, roller passages, and discharge points.
- Use a food-safe vacuum cleaner or brush to remove dry material.
- Clean difficult corners, seals, screen frames, and inspection covers.
- Inspect for pests, moisture, oil, rust, and foreign material.
- Use only approved cleaning chemicals where wet cleaning is permitted.
- Dry all cleaned surfaces completely before restarting.
- Document the cleaning date, person responsible, findings, and corrective action.
Protect moisture control equipment
Moisture affects tempering, bran separation, roller performance, flour shelf life, and microbial stability. Clean and verify moisture meters regularly. Compare instrument readings with a reference method or a calibrated check sample.
Check the tempering system for:
- Water flow accuracy.
- Blocked spray nozzles.
- Leaking valves and pipes.
- Incorrect mixing time.
- Uneven moisture distribution.
- Insufficient tempering time.
- Excess moisture around the machine or floor.
Prevent contamination from maintenance materials
Use food-grade lubricants in areas where incidental contact is possible. Keep lubricants, tools, fasteners, and cleaning chemicals in labeled containers. Do not place removed parts on product-contact surfaces. After maintenance, inspect the equipment for loose bolts, washers, wire fragments, rags, and other foreign objects.
5. Build a Maintenance Schedule That Reduces Unplanned Downtime
Perform checks at different time intervals
A single annual overhaul is not enough for a continuously operating flour mill. Combine operator checks, weekly inspections, monthly servicing, and planned shutdown work.
Daily and shift-based tasks
- Check abnormal noise, vibration, temperature, and dust leakage.
- Inspect visible belts, guards, screens, and seals.
- Check flour appearance and particle consistency.
- Record motor alarms and production interruptions.
- Remove product accumulation from approved access points.
- Confirm that emergency stops and safety guards are intact.
Weekly tasks
- Inspect belt tension and pulley alignment.
- Check bearing condition and lubrication requirements.
- Inspect screen frames and roller adjustment mechanisms.
- Clean aspiration filters and check duct connections.
- Check electrical cabinets for dust and loose connections.
- Review spare part stock and reorder items below minimum level.
Monthly tasks
- Measure and trend vibration and bearing temperature.
- Verify moisture meter and other quality instruments.
- Inspect couplings, shafts, gearboxes, and fan assemblies.
- Review flour quality results against maintenance events.
- Test alarms, interlocks, and emergency stops.
- Update the equipment risk ranking.
Planned shutdown tasks
- Replace worn rollers, screens, bearings, belts, and seals.
- Inspect internal surfaces for cracks, corrosion, and product buildup.
- Clean and inspect aspiration ducts and filters.
- Check motor insulation and electrical connections.
- Verify machine alignment and foundation bolts.
- Conduct a complete test run before returning to normal production.
Use condition-based maintenance for critical equipment
Condition-based maintenance uses actual equipment data to decide when service is required. Trend vibration, temperature, motor current, belt condition, and flour quality. A component should be scheduled for replacement when its condition is deteriorating, rather than waiting for a failure during production.
This approach helps purchasing teams avoid two costly problems:
- Buying excessive spare parts that remain unused for years.
- Buying too few critical parts and accepting long production delays during a breakdown.
6. Connect Maintenance Records With Flour Quality and Production Results
Record every inspection in a standard format
Maintenance records should be simple enough for operators to complete and detailed enough for engineers and purchasing staff to use. Each record should include:
- Date and shift.
- Machine name and equipment identification number.
- Operating hours.
- Inspection points.
- Measured values.
- Observed defects.
- Parts used.
- Corrective action.
- Person responsible.
- Follow-up date.
Compare maintenance data with product data
Review maintenance records together with laboratory and production records. For example, a change in flour particle size may be linked to roller wear, a changed roller gap, screen damage, or an unstable feed system. A fall in yield may be linked to poor aspiration adjustment, blocked screens, or excessive product loss through the air system.
Useful comparisons include:
- Flour moisture before and after tempering system service.
- Particle size before and after roller adjustment.
- Extraction rate before and after screen replacement.
- Downtime before and after bearing replacement.
- Dust levels before and after filter cleaning.
- Energy use before and after belt or alignment correction.
Use a maintenance approval process
Every repair should have a clear status. The maintenance supervisor can classify findings as:
- Monitor: The condition is acceptable but must be observed.
- Plan: The part is wearing and should be replaced during the next planned shutdown.
- Urgent: The defect may affect quality, safety, or production and requires immediate action.
- Stop: Continued operation may cause equipment damage, contamination, or a serious safety risk.
This classification helps production, maintenance, quality, and purchasing teams make decisions using the same information.
7. Avoid Common Preventive Maintenance Mistakes
Do not wait for a complete breakdown
Waiting until a machine stops usually increases repair cost and downtime. A worn bearing, loose belt, or damaged screen often gives warning signs before failure. Treat increasing temperature, vibration, noise, dust leakage, and unstable flour quality as early warnings.
Do not over-lubricate bearings
Excess grease can increase temperature, damage seals, attract dust, and create a contamination risk. Follow the equipment supplier's lubricant type, quantity, and frequency. Record each lubrication activity instead of applying grease whenever a machine looks dry.
Do not adjust roller gaps without measuring results
Changing the roller gap without checking feed rate, moisture, particle size, and extraction can create new quality problems. Make one controlled adjustment at a time and record the result.
Do not use damaged or unsuitable screens
Temporary screen repairs can change the opening size and allow unwanted particles into the flour. Replace damaged sections with the correct specification and verify the screen condition after installation.
Do not clean with compressed air without dust control
Uncontrolled compressed air can spread flour dust into bearings, electrical cabinets, and other production areas. It can also increase airborne dust and create a hygiene or explosion risk. Use an appropriate industrial vacuum and follow the plant dust control procedure.
Do not ignore operator knowledge
Operators often notice a gradual change in sound, product flow, or flour appearance before instruments show a serious fault. Include operators in daily inspections and provide a simple method for reporting abnormalities.
Do not purchase only on the lowest price
The lowest purchase price may result in higher lifetime costs if the machine has poor access for cleaning, limited spare part availability, high energy consumption, or weak technical support. When comparing suppliers, evaluate:
- Production capacity and expected product quality.
- Ease of inspection, cleaning, and adjustment.
- Availability and standardization of spare parts.
- Energy consumption and motor efficiency.
- Safety guards and control system functions.
- Installation and commissioning support.
- Operator and maintenance training.
- Warranty terms and response time.
- Documentation quality and after-sales service.
8. Use a Purchasing Checklist for a Reliable Flour Milling Plant
Confirm technical requirements before ordering
Before purchasing a maize flour mill, the technical team and purchasing group should approve a written specification. The document should state the raw material, desired products, capacity, operating hours, utility conditions, and quality requirements.
- Raw maize type, moisture range, and impurity level.
- Required output capacity and expected extraction rate.
- Desired flour grades and particle size ranges.
- Available electrical voltage and frequency.
- Compressed air and water requirements, if applicable.
- Factory layout and access for maintenance.
- Dust collection and sanitation requirements.
- Required laboratory instruments and quality controls.
- Spare parts list for initial operation.
- Recommended preventive maintenance schedule.
Evaluate supplier support and documentation
A reliable supplier should provide equipment drawings, installation instructions, electrical diagrams, lubrication information, parts lists, troubleshooting procedures, and recommended inspection intervals. Training should explain not only how to operate the machine but also how to identify early signs of failure.
Xingfeng can be evaluated on the same practical criteria: equipment configuration, maintainability, spare parts planning, commissioning support, operator training, and long-term technical service. These factors help a plant protect flour quality while keeping downtime under control.
Approve the maintenance plan before commissioning
Do not wait until the plant is operating at full capacity to create maintenance procedures. Before commissioning, prepare:
- An equipment identification list.
- A daily operator inspection form.
- A weekly and monthly maintenance schedule.
- A critical spare parts inventory.
- A lockout and tagout procedure.
- A cleaning and sanitation procedure.
- A flour quality testing plan.
- A breakdown reporting and escalation process.
- A supplier contact and warranty file.
With these controls in place, preventive maintenance becomes a repeatable operating process rather than an emergency response. It helps a 150-180TPD Maize Flour Mill Plant maintain stable flour quality, reduce unexpected downtime, control spare parts spending, and support dependable delivery to customers. A well-planned 150-180TPD Maize Flour Mill Plant from Xingfeng can achieve stronger production reliability when maintenance, quality control, and purchasing decisions are managed as one system.